
Ryan Bourne

5 min read
22nd Aug, 2024
Our Experience With Amplitude Feature Flags
You've just built a brand new feature for your mobile app, but: will it really have the desired impact? If the new feature has a negative impact, have you considered how you'd need to move quickly to remove it? Whilst you could manually remove the feature and upload a new version of the app to the stores, that'd take time and engineering resources - not to mention how you'd remain at the mercy of app store review times. Thankfully, there's a better approach for releasing features - feature flags.
Feature flags allow us to enable or disable functionality, depending on a range of different variables. For example, we could choose to roll out a feature to a set percentage of our audience, or a segment of users based off of user behaviour, device characteristics, or time-of-day. If we then find that our feature isn't performing as expected against KPIs, or if it's causing crashes, we can pause or revert the rollout to prevent further impact - without needing to change any code!
Regardless of measuring user impact or ensuring app stability when new features are introduced, we can also use feature flags to only make a feature available for a set time period - allowing us to release the feature in advance of the start, ensuring that those with automatic updates enabled get the new version beforehand. Furthermore, if a feature has an external dependency that isn't yet ready, the feature can be disabled & then remotely activated once all of the external dependencies are ready - letting you move forward without needing to wait around!
Finally, we could also use feature flags for A/B testing so we can try out variants of a new feature and measure which performs best. For example, if we were wanting to change the location of a payment button from the middle of the screen to either the bottom of the screen or the top of a screen, we can have 3 groups who will see different behaviour:
- a control group - they will see the existing behaviour, so you've got a group to measure the new variants against
- a 'top' group - they will see the purchase button moved to the top of the screen
- a 'bottom' group - they will see the purchase button moved to the bottom of the screen
After a set amount of time, we can then measure the purchase behaviour of each group to determine which approach is best.
Using Amplitude to roll out new features
Recently, Amplitude released Experiments, a new platform for analysing, testing and improving products. Whilst Experiments has a lot of functionality to facilitate A/B testing, in this article we'll cover the integration of a simple feature flag that can then be used to control the rollout of a new feature in our React Native app. This article presumes that you're already using Amplitude in your React Native application.
Firstly, you'll need to create a new 'deployment' associated to your Amplitude project. Your feature flags and experiments will then be targeted against this deployment. In the example below, I've created a new deployment called staging-default, for the Perception Mobile App project, with the type set to Client as the mobile app will use this to request the deployment configuration.
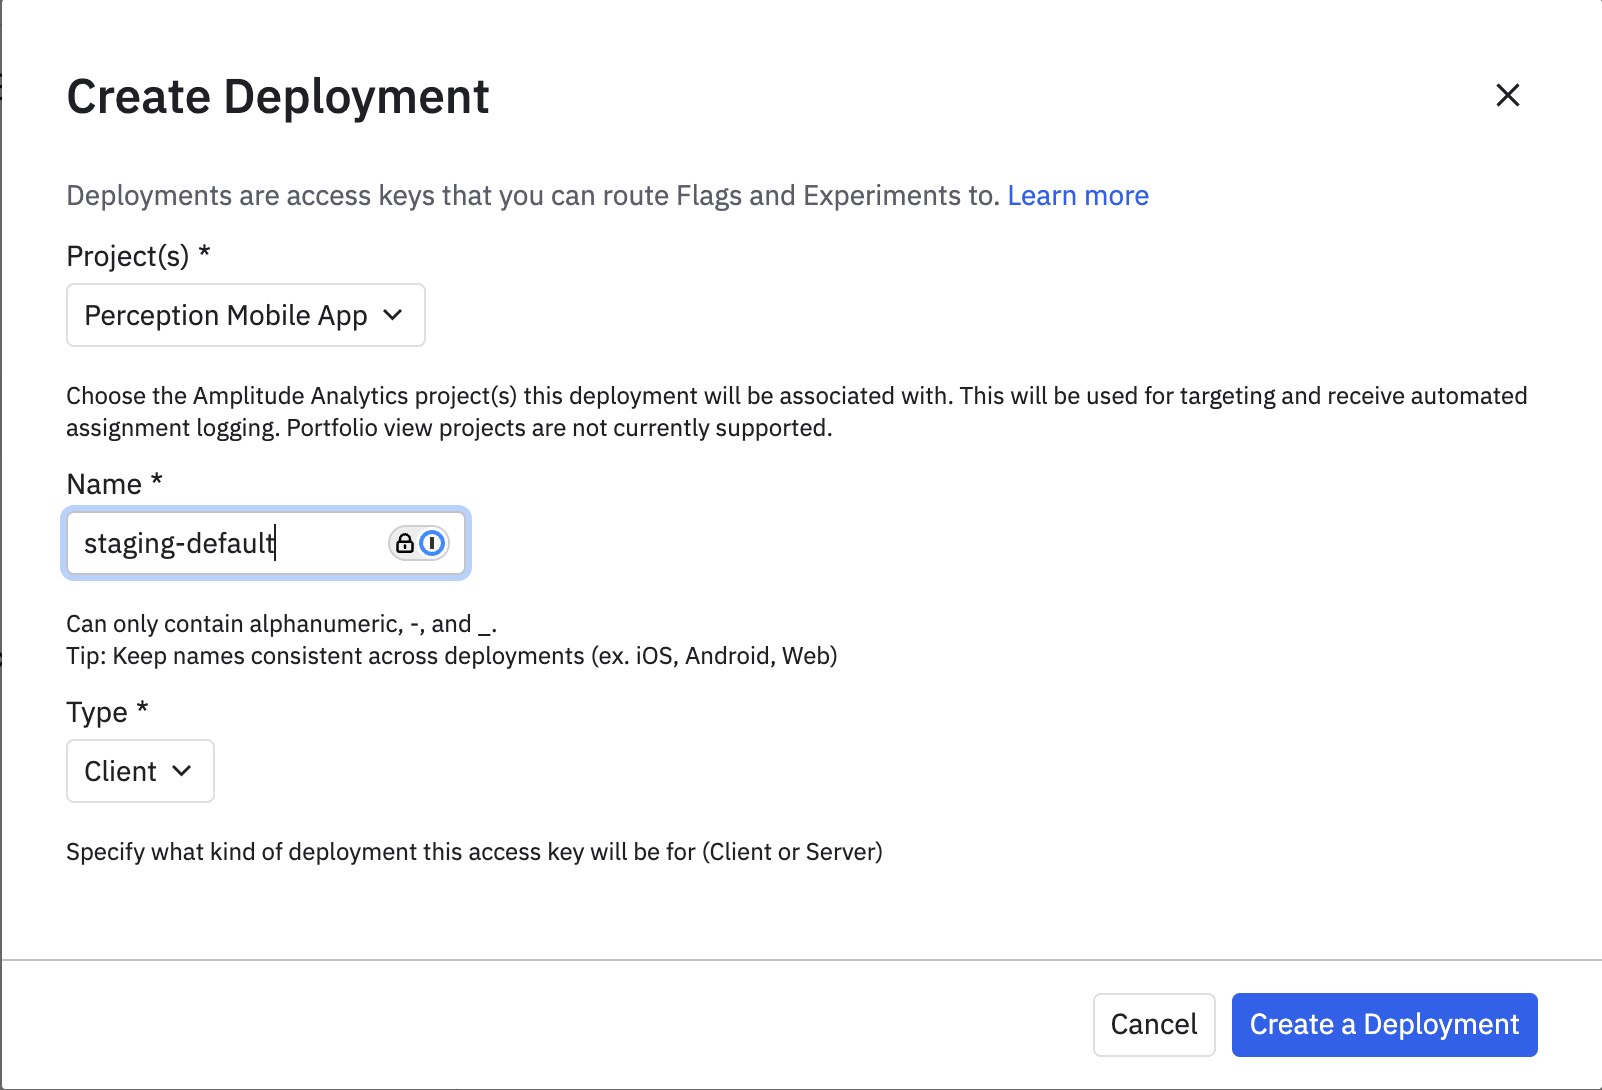
Once a deployment has been created, an API key will be generated - this needs to be referenced in your application. We'd recommend not storing these directly in your application, and instead have a way of requesting your app's API keys from your servers - helping to protect your keys whilst allowing you to easily rotate them in the future if needed.
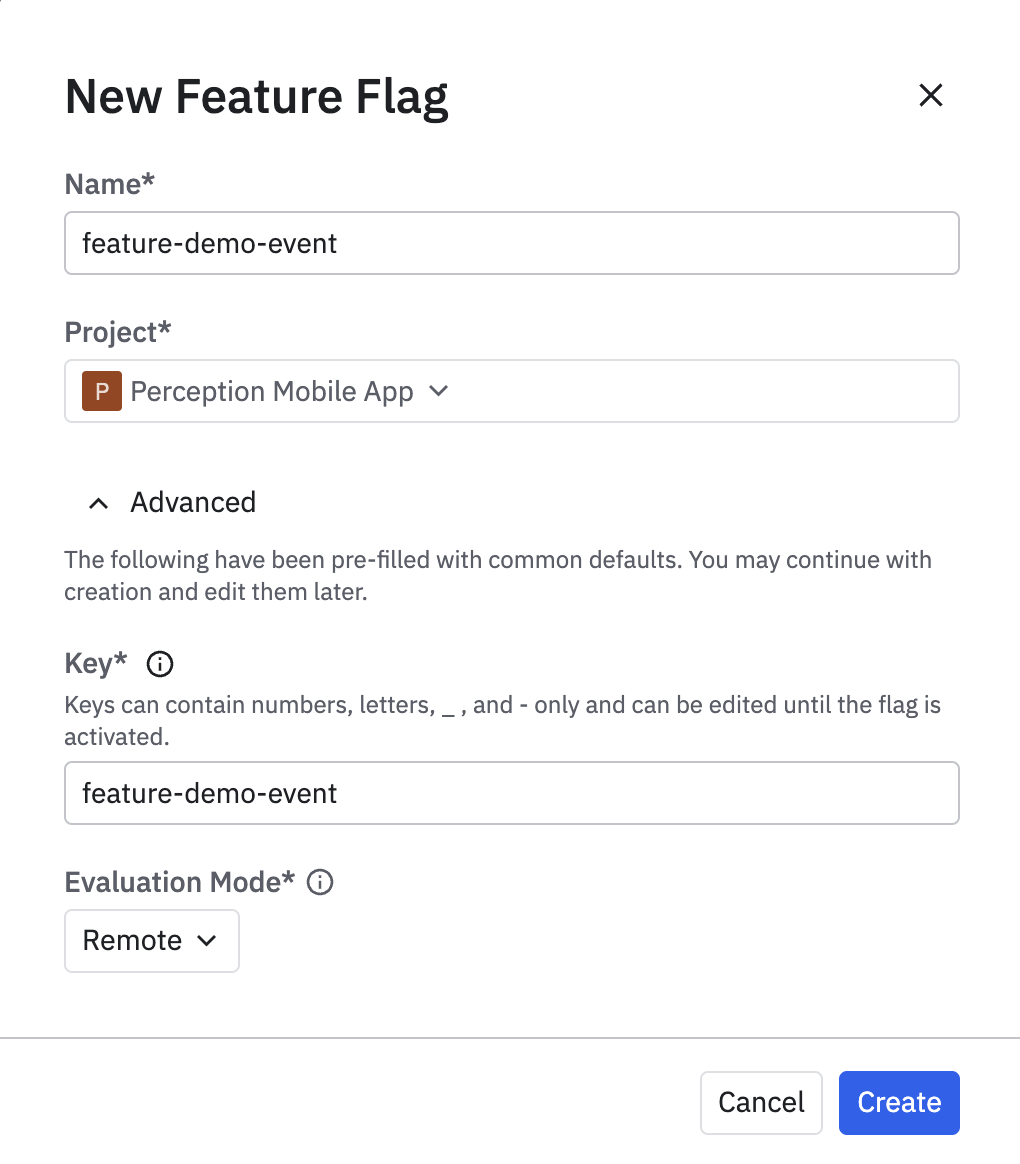
Now your API key is created, we can create our new feature flag:
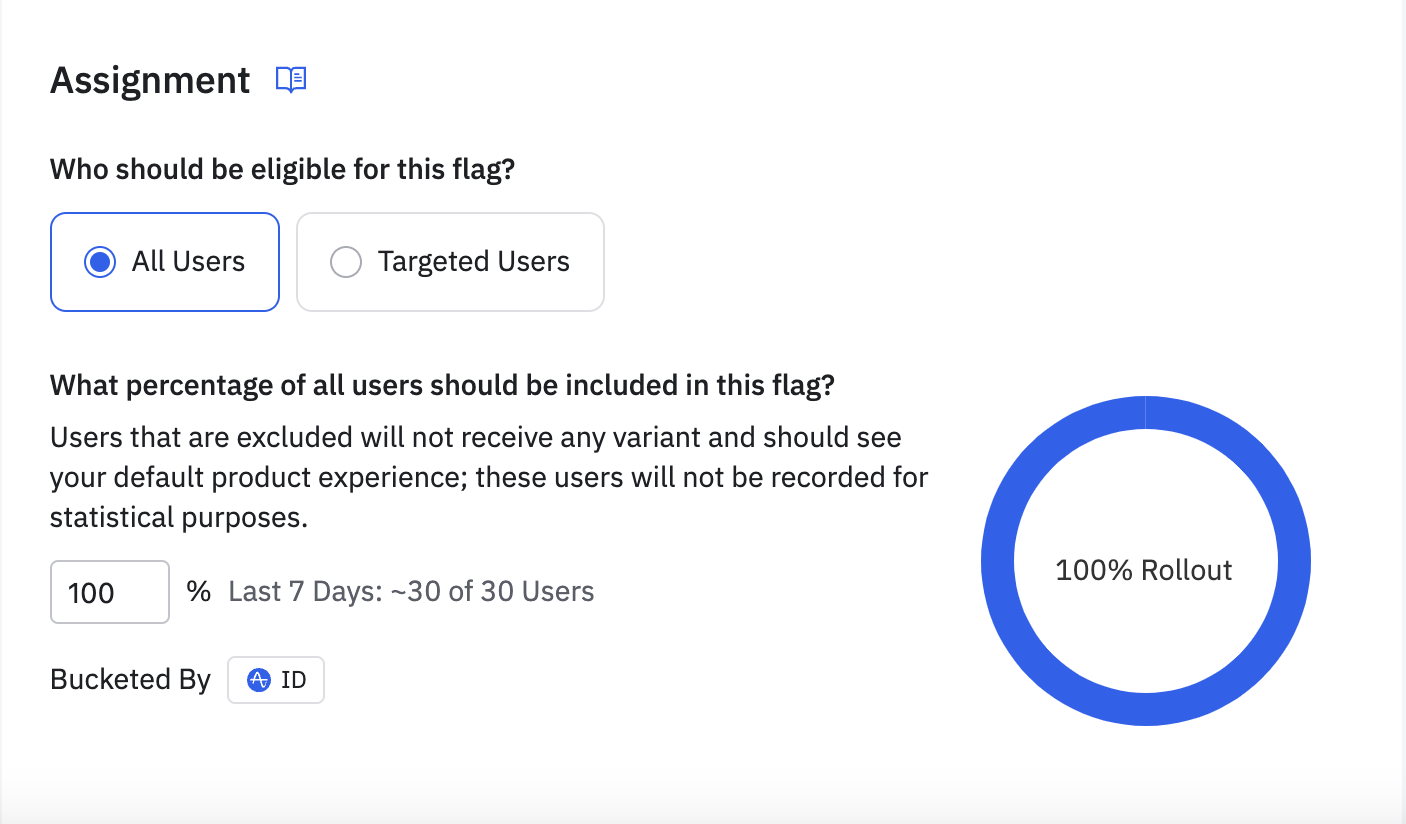
Once the flag is created, we can define which percentage of users will see it - in our example we've chosen to show it to all users in our staging project, but we could equally have only 50% of users see it.
With your API key accessible to your mobile application and your feature flag set up, you now need to install initialise the Experiments SDK client per the documentation:
yarn add @amplitude/experiment-react-native-client
yarn add @react-native-async-storage/async-storage

cd ios
pod install
import {
  Experiment,
  ExperimentClient,
} from "@amplitude/experiment-react-native-client";

let experimentClient: ExperimentClient;

const key = "replace this variable with your own key!"

const init = async () => {
  // If you're using Amplitude Analytics, you can use this
  // function as then any feature exposure events will be
  // automatically fed to Amplitude.
  experimentClient = Experiment.initializeWithAmplitudeAnalytics(
    key,
  );

  await experimentClient?.start();
};

// Call `init` from an appropriate point in your application,
// ideally before any content is rendered to prevent 'flashes'.
init()
In the code above, we register and hold reference to an ExperimentClient, before calling start() which will fetch & assign any feature flags currently active for the deployment.
Once the client has started, we can use it to read the value of a feature flag for the active user:
const getFlagEnabledFor = (flag: string) =>
  experimentClient?.variant(flag).value === "on";
In Perception, we use a hook for handling our feature flag values:
import {useMemo} from "react";
import {Experiments} from "@utils/analytics/experiments";

export const useFeatureFlags = () => {
  const isDemoModeEnabled = useMemo(
    () => Experiments.getFlagEnabledFor("feature-demo-event"),
    [],
  );

  return {
    isDemoModeEnabled,
  };
};
If the feature-demo-event flag is active for our user, isDemoModeEnabled will be true and the functionality will then be shown. If the flag is not active, then the functionality will be hidden away.
And - that's it! With a few simple steps, you can add a feature flag to your React Native application and control the rollout remotely - protecting your app's stability & ensuring you're always optimising your product to make users happy and improve against your KPIs.
Moving forward, we'd recommend you explore the A/B testing functionality within Experiments to show different versions of functionality - we'll cover this in a future article!
Want help with your React Native app? We'd love to chat - reach out!